

A floor that is properly welded is critical when it comes to hygienically sensitive surfaces. For flooring applications with surface areas that have hygienic requirements which are also exposed to moisture (wet rooms) or in rooms subject to intensive wet cleaning, properly welded floors are a must. Therefore, most floors in public buildings such as hospitals or schools need to be welded properly, as well as in public transportation facilities such as planes, trains, or buses. A high-quality weld is also required in clean rooms, residential construction, offices, and sports flooring to satisfy design requirements or to achieve a specific design. Vinyl sheet flooring installers need reliable welding tools, and reliable results are a must as it is not cost effective to test every welded seam. Therefore, the ascending order of process and right tools is pivotal.
Discussed below are seven important recommendations that should be analysed while welding the floor coverings.
Welding Material: Adhesive recommended by the manufacturer is required to install linoleum and vinyl. Usually 3 to 5 mm welding rod of the same material, that is recommended by the manufacturer is used for welding PVC or TPU surfaces. Most specifications make welding mandatory, since it prevents ingress of dirt and bacteria into seams and provides a floor surface which is impermeable to water. However, welding will only aid maintenance of high standards of hygiene if it is executed correctly. Hence choosing a good quality surface and a suitable welding rod is more important. Heat welding of vinyl floor coverings are in use for many years and employs the technique of heating both the vinyl flooring and the vinyl welding rod to a sufficient temperature to melt and fuse them together.
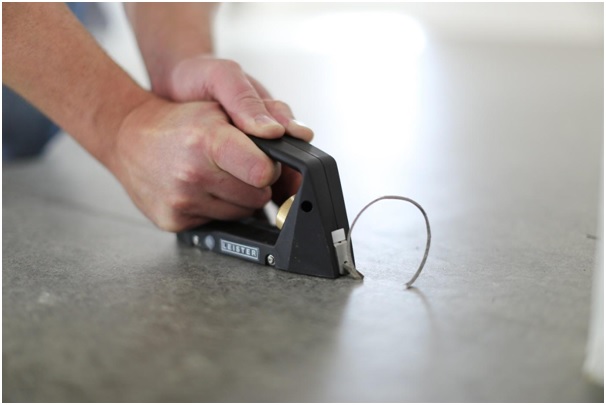
A Detailed Grooving: Before welding, the seam edges must be milled or grooved to approx. 2/3 of the thickness of the material. The floor covering must first be affixed to the surface with adhesive. Follow manufacturer directions to properly prepare the substrate to achieve a solid bond. A groove must be milled at any seams in the floor covering. An automatic grooving machine is preferred over a hand groover for speed and consistency.
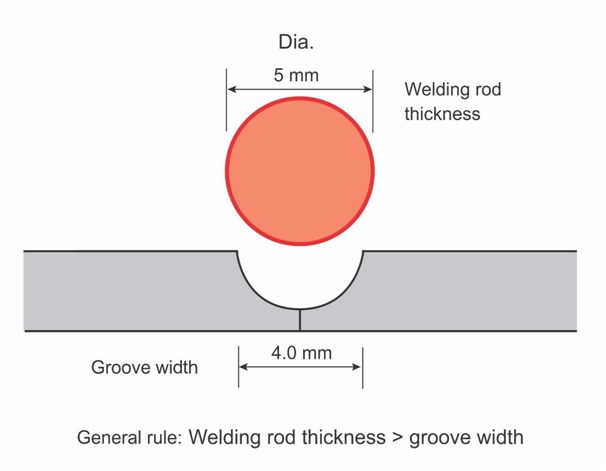
Different blades are available and the correct one should be chosen based on the properties of the floor covering and the welding rod being used. Consult the material manufacturer for information on groove depth. However, basic guidelines for milling depth is approx. 2/3 of the thickness of the surface. The milled groove should be centered on the seam, otherwise the weld will not be adequate and may fail prematurely. The groove on Acoustic and Sports floor should only be cut in the vinyl wear layer. It should never be cut through to the PVC foam backing.
Welding Preparation: Test welds should be performed on scrap material to determine the correct speed and temperature for each job. Besides material type, environmental factors can affect welding temperature and speed. Welding rod should penetrate the entire groove with no gaps. A welding nozzle with a narrow air outlet is recommended to avoid damaging the surface of material near the seam. This damage only becomes visible after several cleaning cycles. Remove all the dust from the grooves and wipe the rod clean before welding.
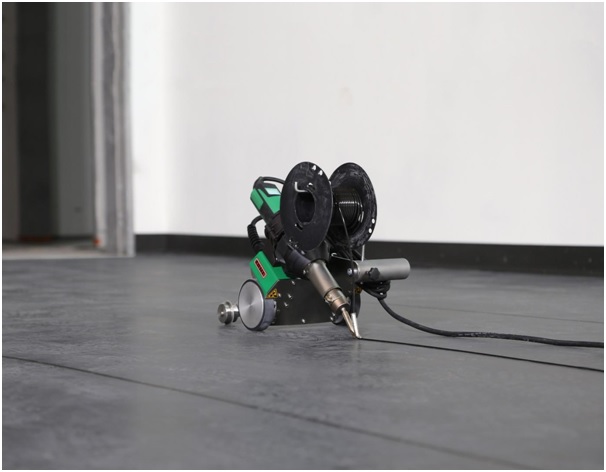
Welding Implementation: It is always suggested to weld with an automatic welder. It is recommended due to time savings and higher weld quality that is easily reproduced at a Constant (high) speed, Constant pressure and Constant temperatures.
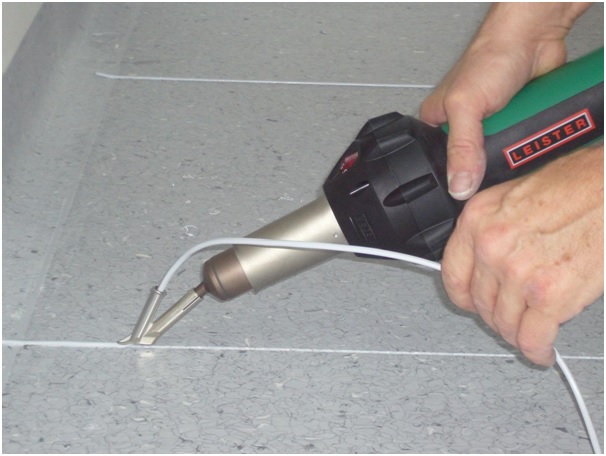
For short grooves, repairs, or transitions manual welding is recommended. For a consistent weld quality, the following must be taken into consideration- constant a speed as possible constant a pressure as possible and constant temperature.
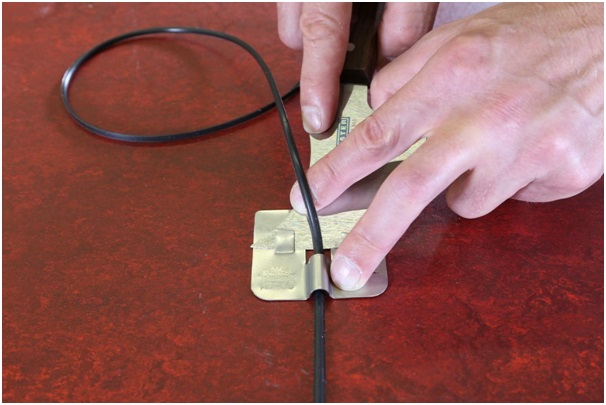
Trimming: Before commencing, it is advisable to stone the trimming spatula knife on one side only. This keen edge will make trimming easier and minimise the risk of “digging in”. Trimming of the weld must be carried out in two stages. Failure to follow this procedure will result in dished welds which are prone to dirt pickup. The first trimming stage takes place before the weld has cooled using a sharpened quarter-moon knife and a trimming guide. This can be done whilst the weld is still warm. Trimming the top welded layer speeds up the cooling time. The second trimming stage takes place after the weld has cooled. The cut is made flush to the surface of the material using a quarter moon knife without the trimming guide. Be sure to consult the manufacturer for the rest period before the floor can be used or cleaned.

Glazing the Weld: Should a glazed finish be required this can be achieved with the speedweld attachment removed but still on the same heat setting, play the gun nozzle over the trimmed weld. Repeat over the whole length of the weld, keeping the gun constantly moving to prevent burning.
Updated with the available technologies: You should be attentive of the most modern welding technology and should be prepared with correct tools. Then you should choose the type of welding machine, the power supply needed, whether it is portable, what other tools and accessories might be needed with the welding machine. With Leister tools, the process of connecting panels or sheets is clean and simple. The full range in this application area covers groove cutters, hot-air welding machines, and a wide spectrum of hand welding tools and accessories. Leister tools with digital settings compensate for power quality issues and eliminate power problems that are typical at industrial locations and construction sites.
Leister’s wide choice of products specifically designed for the flooring application includes Hot Air Hand Tools like TRIAC ST, TRIAC AT, Solano AT; the Automatic Welding range includes MINIFLOOR Drive Unit, UNIFLOOR E, UNIFLOOR S; and accessories like GROOVER, GROOVY, SPATULA / QUARTER MOON KNIFE, TRIMMING KNIFE, TRIMMING GUIDE, CUTTER, etc. and many other accessories to complete the process.
To enquirer more about this product visit https://www.leisterindia.com/